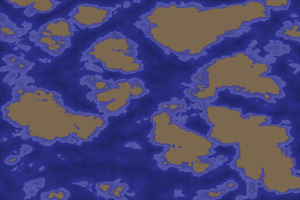
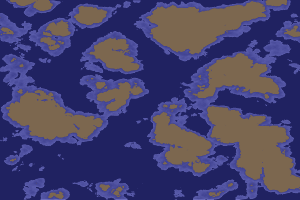
Generating a world in Gimp, Part 1: Land and Shallows
Jesse Morgan
This is a work in progress on how to create a nice, quick worldmap.
- Create a new image in gimp, 1200×800
- Delete the background layer because it’ll just get in the way.
- Create a new layer group
- Create a new Transparent layer in the group called “noise”
- Use Filter->render->cloud->solid noise with the following settings:
- random seed 1056316098
- detail 15
- turbulent
- x,y= 4.0,4.0
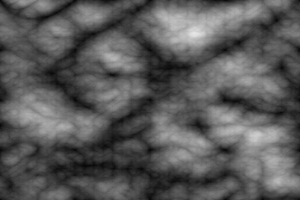
You should end up with something like this:
Now, Lets make some land.
- Create new layer above that, fill color #a4a3a3, set Mode to addition, then disable it. Name it “Shallows addition”
- Create new layer above that, fill color #888888, set Mode to addition. Name it “Land addition”
- Clone that layer, set Mode to grain merge
- Create new layer above that, fill color #000000, set Mode to burn
- This should give you a nice group of islands and the shallows around them.
By switching back and forth between the addition layers, you can create outlines of both the land and the shallows:
- Enable the shallows addition and disable land addition
- Click on the layer folder grouping
- Use select by color and select the black area
- Click on the solid noise layer
- Press delete. This should make a majority of the background clear
- Enable the land addition and disable shallows addition. This should leave you with white land, black shallows and clear ocean.
- Click Select->None
- Right click on the layer grouping and merge visible layers.
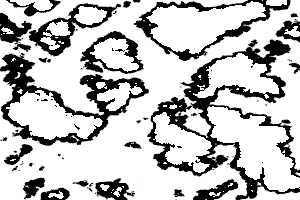
You now have a two-tone map:
Now to split it up.
- select by color and click on a white area
- create new transparent layer,
- fill with #7c674f
- click on 2 tone layer
- hold shift and click on black section
- create new transparent layer,
- fill with #aeb0ff
- click select->None
- On the two tone layer, fill with #202261
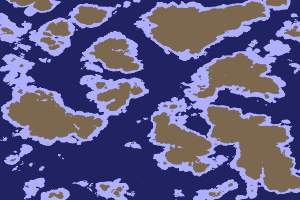
You now have a 3 layer image, one of solid oceans, one of shallows, and one of land.
Lets fuzz out the shallows:
switch to shallows layer
color select shallows
filter->render->clouds->difference clouds
- seed: 1056316098
- turbulent
- detail 15
- x,y=4,4
And lets add a little texture to the base water:
Select the base ocean layer
filter->render->clouds->fog
Set the color to #050755
turbulence 3.0
opacity 60%
merge newly created fog layer down.
filter->render->clouds->fog
Set the color to #4043a9
turbulence 3.0
opacity 60%
merge newly created fog layer down.
And there we go, the final, fullsize image (click to embiggen):